- REVIEWS
Product Category Product Category 
Brands Brands - VIDEOS
- CARP SCENE
- WIN
Anatomy Of A Carp Rig | Ian Russell's Flick Rig
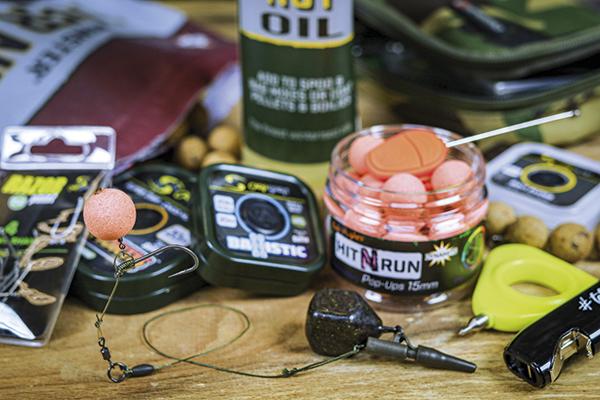
The flick rig came about as a bit of a joke really, or rather the name of it did. YEARS AGO, I was doing really well on Harefield and Tim Paisley of Carpworld wrote to me at the time asking what rig I was using. Me and a bloke called Martin Fox made up the name flick rig, because every time we flicked it out we’d get a bite!
Jump forward some 20 or so years and I found myself losing a fair few fish on hinged stiff rigs and I thought about my most reliable hook I’d ever used and that was a longshank. I made one up with a longshank on the chod section and it stuck out so far past the hook bait that it just made so much sense! There wasn’t even a need to bend the hook link as the longshank hook would create a natural pivot point even with a straight hook section. I also decided to change it up some more by using it with a boom section made of soft and supple, heavy sinking braid.

From that point onwards I used it for many years on all three rods and it really produced the goods on many big fish waters. I’d always hook on a little PVA bag to avoid tangling and if you use a couple of old pop-ups or some foam, the hook link slowly sinks down in a coil as the hook bait settles. The coiled rig would then allow the hook section to spring into the carp’s mouth when it sucked in the bait and the result was often needing forceps to unhook them!
Nowadays I usually find myself using little Ronnie rigs, much like a lot of people out there do, for their ease and simplicity! However, I’m sure that the carp will one day wise up to them and I know exactly what I’ll be putting on the end and flicking out when that day comes!
Step-By-Step: Tying Ian Russell's Flick Rig
 1. First you will need a Razor Point hook in a longshank pattern.
 2. Cut off 6 inches of stiff chod mono.
 3. Tie on the hook with a knotless knot.
 4. Slide a micro ring swivel onto the hair.
 5. Pass the hair back through the eye and blob to form the D.
 6. Tie an overhand knot with a size 11 swivel on the loop.
 7. Your hook section is now complete.
 8. Pass the Ballistic braid through the ring and turn seven times...
 9. ... pass the braid back through the first look near the swivel...
 10. ... then pass it back through the loop you'e just created.
 11. Tightendown by pulling the hooklink and trim.
 12. Mount a sinker and push it up against the knot.
 13. Tie a loop in the other end or tie directly to your swivel.
 14. Pass a length of bait floss through the micro ring swivel.
 15. Mount your hookbait and push onto the swivel.
 16. Blob with a ighter to secure.
- Log in or register to post comments


| Gear Reviews | More Gear Reviews | News Articles | Venues Videos | Shop | Subscriptions | Resources |