- REVIEWS
Product Category Product Category 
Brands Brands - VIDEOS
- CARP SCENE
- WIN
Anatomy Of A Carp Rig | Dave Lane's Heavy Rig
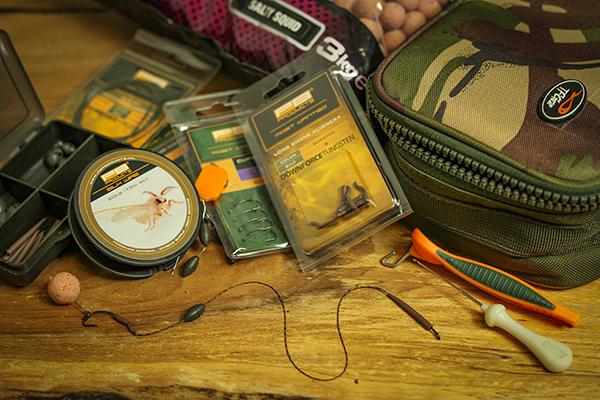
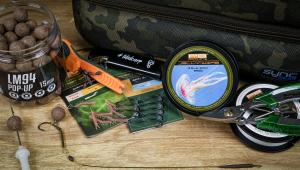
After receiving some Silk Ray from PB Products to use as a leadless leadcore leader, I immediately saw an opportunity to improve my hook-link presentation as well.
This material lays completely flat on the lake bed and it is incredibly supple, allowing it to mould to the bottom.
The rig could not be simpler to tie and covers bottom bait, wafter and pop-up situations all with the one rig.

Firstly I cut a length of Silk Ray and taper one end by cutting it at an angle to help pass the thick material through the eye of the hook.
I then use a simple four-turn blood knot to attach the hook; I use a size 8 Curved KD but any hook pattern will work.
I then add a tungsten line aligner to the eye of the hook; because of the suppleness of the braid this is best done by passing a splicing needle through the aligner first and pulling the hook-link back through. The tungsten aligner will add the required weight to balance a wafter.
I then slide on a tungsten Contra-Liner (I use 1g) and this will be the adjustable weight for the pop-up rig.
Bait mounting is a personal choice, you can use a bait screw or a ring but I prefer a ring with a short hair attached, which I make out of the inner of any coated braid and then tie a small loop to the end. This ring with a hair is reusable time and time again so although it is a bit fiddly it last for ever.
The finished rig can be used for pop-ups by sliding the tungsten weight into any position to determine the height of the pop-up or, by sliding the weight back up to the swivel end, it is ready to fish with either a wafter or a bottom bait so one rig really can cover all presentations.
Because the Silk Ray is a heavy-duty material without a coating, the sliding weight will never damage the hook link, no matter how many times you adjust it up or down the link.
Step-By-Step: Tying Dave Lane's Heavy Rig
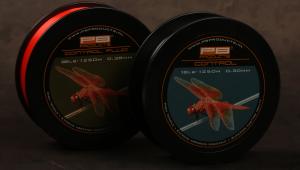
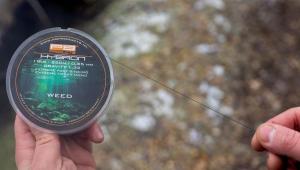
 1. Dave’s choice of hook link is Silk Wire; it’s an incredibly supple uncoated braid that sinks like a brick!
 2. First, slide a Contra-Liner on to the Silk Wire. These grip the heavy braid perfectly.
 3. Next thread on a Long Shank Line Aligner. This should go on aligner end first.
 4. Pass the braid through the eye of a size 6 KD Curved Hook, then wrap it back six times.
 5. Pass the tag end back through the first loop next to the hook eye.
 6. Now pass the tag end back through the large loop you’ve just created. This is an improved clinch knot.
 7. Tighten down the knot and wet with saliva. It should form a neat parallel knot.
 8. Tease the knot back towards the hook, then fully tighten using a puller tool.
 9. Trim the tag end of the braid then slide the Line Aligner back up on to the hook, making sure it’s in line with the point.
 10. Next mount a rig ring, followed by an Easy-On Oval Hook Bead, which is positioned on the bend of the hook.
 11. You can now peel off the braid to determine the length of your hook link with minimal waste.
 12. Slide on an Anti Tangle Sleeve, which is used to sheathe the knot and swivel.
 13. Tie a simple overhand knot in the end for use with a quick change swivel, or tie directly to your swivel.
 14. Tie some fine, uncoated braid (from the inside of a coated braid) to the rig ring to form a hair.
 15. Tie a loop in the end at your desired hair length. This hair can be re-used over and over again.
 16. Simply mount your hook bait, add a hair stop and you are ready to go bag a big’un!
- Log in or register to post comments


| Gear Reviews | More Gear Reviews | News Articles | Venues Videos | Shop | Subscriptions | Resources |